Showing posts with label Felting. Show all posts

Saturday, May 21, 2011

Day #88: On a wing and a prayer...

I worked on the owl wings some more today along with a sample for the backdrop. The wings are tricky -- I mean, they have to fly (always neat), but I want them to look featherish without using feathers. I am hoping this wool will do the trick.

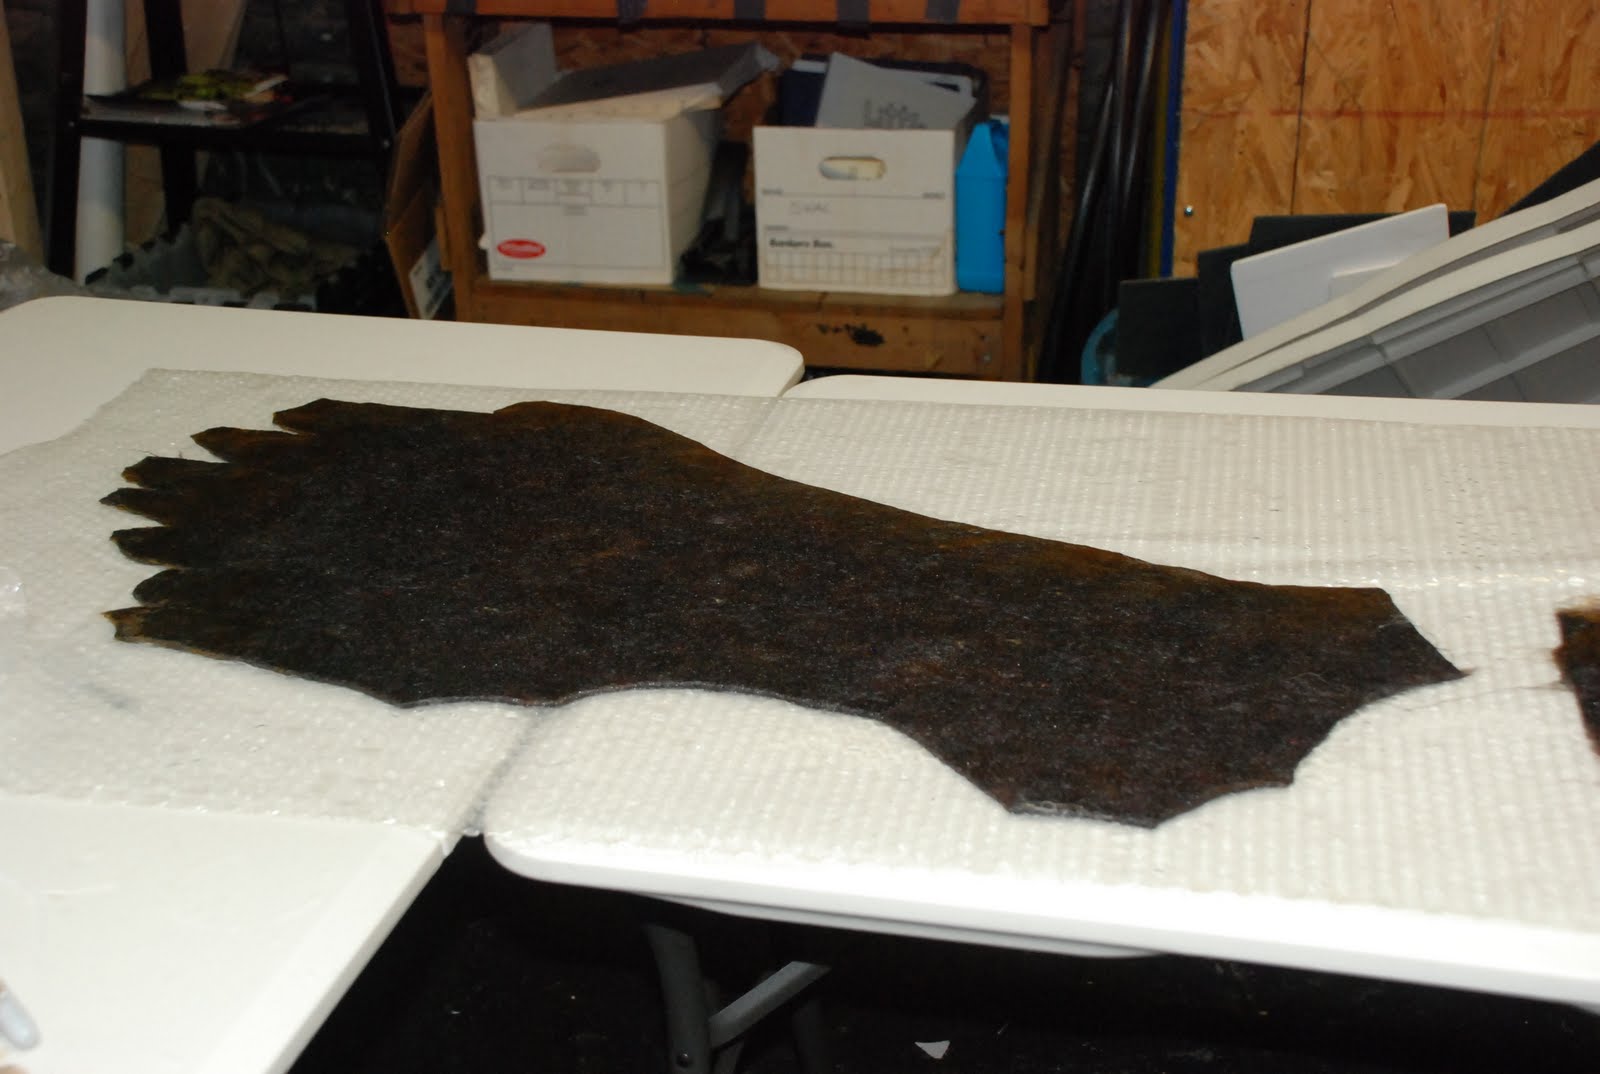
Inside part of the wing in progress. I had to fold the edges of the darker side to get the clean edge.


This is what the other side looks like now with the edges folded.

One finished wing, the other still in progress.


And a sample for an idea of how to handle the background...stay tuned!

Thursday, May 19, 2011

Day #87: Winging It!

Our new show features a Great Horned Owl as one of the major characters. I've looked at bazillions of images -- they are pretty amazing birds. They have great expression and loads of texture and color. I feel lucky that they were the best choice for the show as an owl local to the region in which the show is set.

The wings are a key feature in this puppet, of course. They need to be expressive (like the hands of an Italian!). To begin our process, we looked at wing structure and made a mini-wing out of paper.

Rey drew this. Didn't she do a great job?

We looked at lots of youtube footage featuring birds in flight. We also watched "Guardians of Ga'Hoole." OK, so we used the project to justify our watching of the film -- but it's great for looking at owls. (And I totally loved the credits!)

I am making this puppet using wool and wet-felting it. This is the primary wool roving that will be featured in our creature:

Jacob roving dyed with natural dyes. Purchased last year with this owl in mind at the Maryland Sheep and Wool Fest!
Then I began laying out the fibers...Pandora was playing an '80's station...

See -- there Iam!
These will be big wings -- but the fibers will shrink a bit, so not quite this big.


Melanie is working on some raccoon parts in the background. Pool noodles are awesome. It's great that they are a TOOL.
We scaled up a bit to compensate for the fiber shrinkage...let's hope our guesstimates are accurate!

Ready for the next step...tomorrow!
And tomorrow...we will wet the whole thing out, flip it, lay out side two and begin ROLLING! (I have a pool noodle, and I know how to use it. Watch out!)

Friday, April 22, 2011

Day #78: Everybody Needs Fans!

Yet another in our serious of "Could This be a Puppet?"

Of course!


And for those of you out there who might be wondering what really happens in a puppet studio, I have some pics below from today's work!

I am preparing the owl's exterior. I am creating a lovely textured fully felted surface...but there are lots of steps to getting it done just right. The owl in the show is a Great Horned Owl; they have lots of fabulous colors and textures...so I need to make some lovely colors and textures!


First, I took three types of wool (left to right: Cormo, Navajo Churro, and a touch of Merino), and I blended them into the color you see at the right. The Churro is very sturdy and used primarily in rug making. It gives structure to the felt. The Cormo and Merino soften it up a bit and give a lovely color. I already did a swatch, so I know it turns out right!

Layers waiting for lots of rolling. Do you see the fabulously organized boxes of fiber in the background?
 Then I laid out two pieces. On the left is twenty thin layers of coppery colored Merino; on the right is the Churro/Cormo/Merino blend -- five layers.

Wednesday, March 30, 2011

Day #55: Mouse Guts

I love to show people puppet innards!

The mouse mechanism is pretty simple. It didn't start out that way. As per usual, when you start out designing something it always has more strings/rods than it really needs. The objective is to simplify the movements to what a puppet really "needs" to as informed by the script.

The mouse needed to scamper along, "sniff" it's nose and whiskers, and wiggle it's butt.

To do this, I based the mechanism around a really large spring.


The spring forms the "neck" of the puppet. This allows for a bit of bounce as the puppet moves. It's mostly hidden from  view.


I also embedded some wire into the fabric to have a point of attachment for the fishing line we use for the puppet controls.


Mouse in the studio! It will take a while before I can show movement footage; I like to attach handles and paint all the rods at once. (Saves time!)

I hope you've enjoyed seeing how we get from here:

 
to here:

Sunday, March 27, 2011

Day #52: Talking Trash...

I am so close to finishing the mouse. I'll post up some update pics below. I think I actually would've finished, but I really, really need some tools that I can't seem to locate. I'll have to fix that -- need some needle-nosed pliers!

But...today's post!

I really did not want to pause what I was working on today; I did not want to stop working on my mouse. Fortunately, I found inspiration in an unusual place: a trash can.

My daughters know that I can make anything "talk" and ask me to do it all the time. My younger daughter especially likes me to make trash cans talk. There just so happens to be a fabulous "talking" trash can in the building where my studio lives.

I brought it to life a bit more today!


(Trashiest puppet ever! Sorry about the sideways view...)

And here is my mouse...

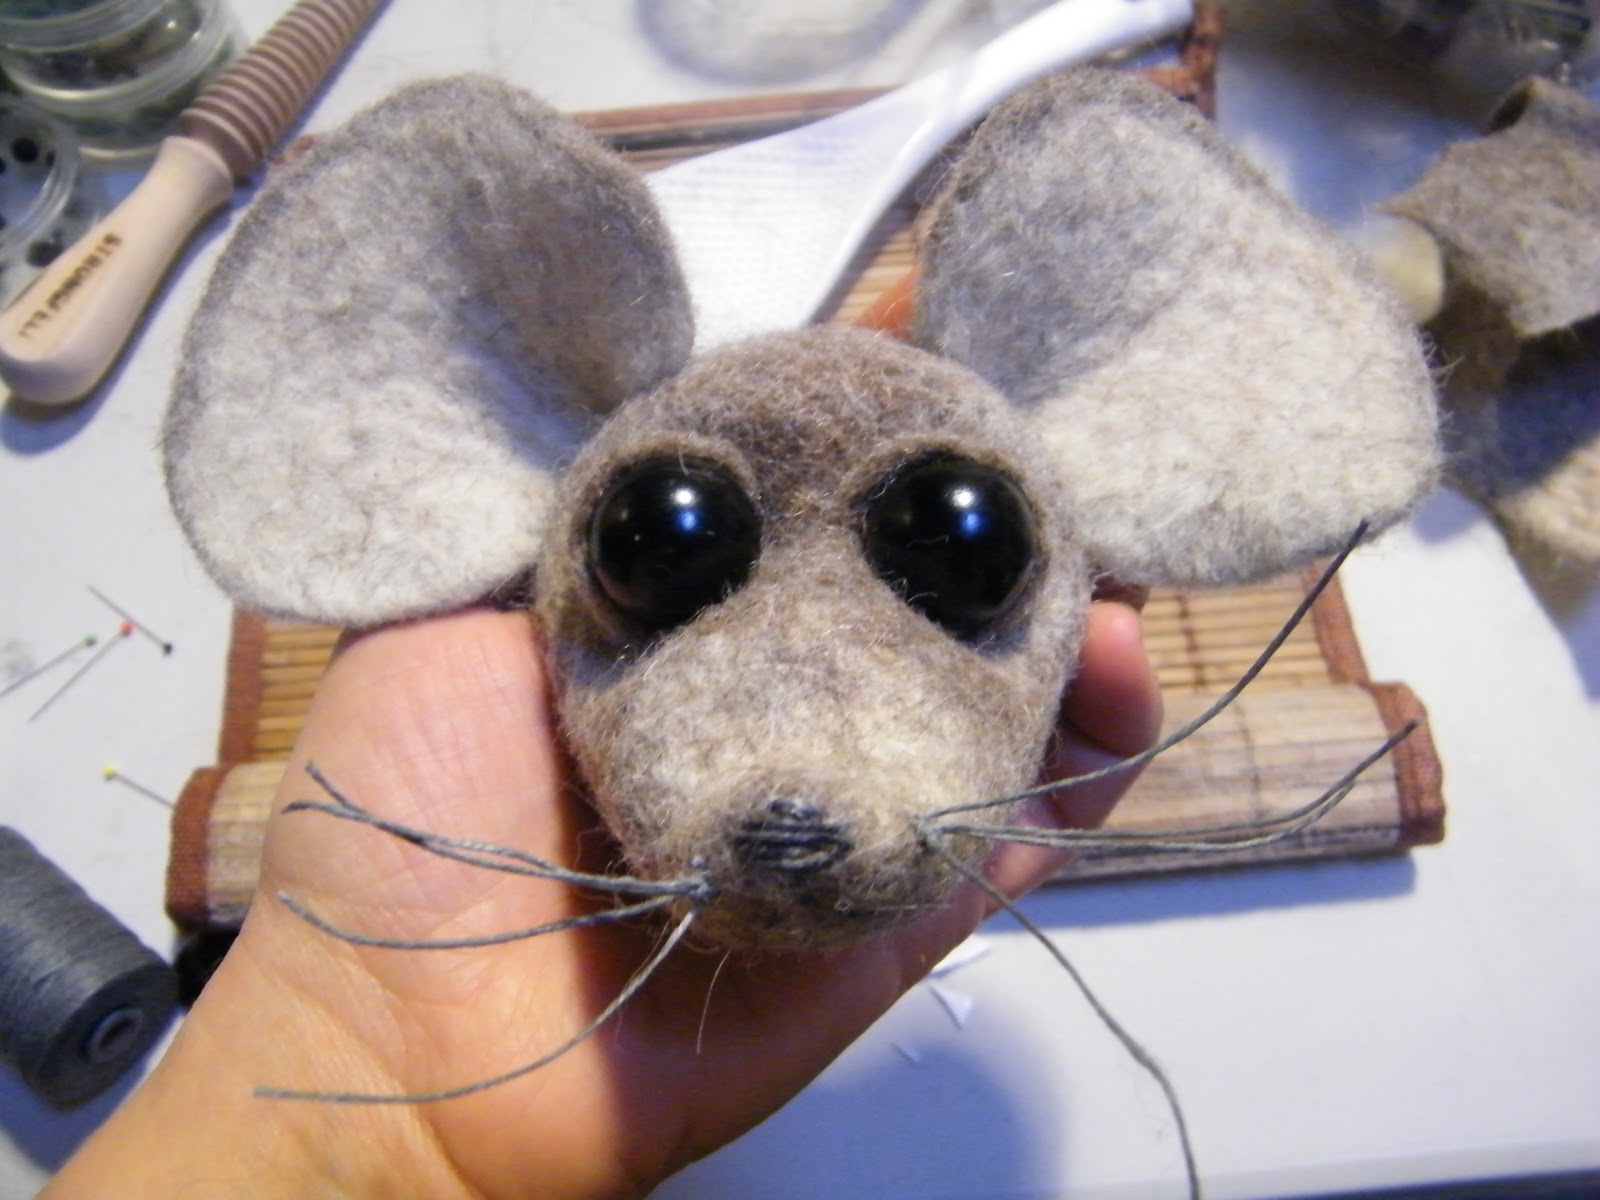
Experimenting with eyes and ears...
Eyes, ears, whiskers!

Fingers crossed that I'll find my needle-nosed pliers and finish tomorrow!

Saturday, March 12, 2011

Day #37: Flower Power

This weekend we are away from home to celebrate the life of my husband's maternal grandmother, Jan Belle Isle Robinson. She was an extraordinary woman and will be dearly missed. Today's puppet is for her:

Felted mohair and wool, beads, and raw silk were used.
The puppet is a hand/glove puppet.
It moves really well!

I was hoping to take some more video footage, but our hotel connection is really slow.  I will post some up when we get home. (Soon...)

Friday, March 4, 2011

Day #29: Busy Bee at the studio today

Bumblebee from "Little by Little."
We were busy bees at the studio today. We created several bumblebees using needlefelting and wet-felting techniques. The tiny puppet is very solid and "bumbles" along quite nicely!

We only got around to adding wings and a rod to one of the bees. I don't always like to use the word "cute" when talking about puppets, but this one is, well, really cute, huh?

We finally managed to figure out how to do a video clip -- we'll keep working on these and incorporate some more soon!


Sunday, February 20, 2011

Day #17: Give A Hand!

I just returned from the most amazing weekend at Pocosin Arts Cabin Fever Reliever. I haven't been this sleep deprived since my youngest daughter was tiny -- well, that or college final projects! Those were the days...

I took a workshop in 3-D felting using resists taught by Lisa Klakulak. What boggled my mind is that her teaching is just as excellent as her work. (What I mean is that her work is stellar AND so is her teaching -- the skill-sets do not necessarily co-exist.)  I learned and synthesized more about the felting process on the first day than I have in the past year. Part of it is that there is a value in learning from a person rather than just a book. Direct experience is so key. The other part is having an instructor who person who truly knows her art inside out and upside down. I was in the studio early each morning and left late at night (past midnight!), and so were many of the other students. It was great being creative in a group setting like that with so many ideas jumping around the room -- it was alive with creativity!

"Hand" Puppet!
So, for today's puppet, I want to "give a hand" to my instructor and my classmates who all taught me so much and made for an incredible long weekend. She's made with eyeliner, red ink, black sharpie (that I tell my children they should never, ever use on their skin), and a purple fringed doll vest. And a hand, of course!


This is a felted vessel that was made using raw wool (merino) over a resist and lightly shellacked.

Now off to bed to catch up on my sleep as best as I can...

Friday, February 11, 2011

Day #8: Mini Mouse

Mini-mouse on a spool of thread.
I spent today finalizing some adjustments to the stage for our new show, Little by Little. We  have a 1/6 scale model of the stage right now and need to begin building the full-size version. So I really needed to make sure the design and the proportions were correct.

Some days, you need to work on a particular aspect of a show. I really, really, really wanted to work on my mouse puppet...so for today's puppet, I whipped up a mini-mouse that was proportioned for our mini-stage!

Mouse sitting in my palm.
I have several sheets of felt "swatches" that I've made from various breeds of sheep. The mouse was made from some of the felt. The gray topside is from a Jacob; the white underbelly (zoom in!) comes from a Navajo-Churro. The rod is from some scrap wire, and the only other material used is thread.


Mouse on top of a stump.

I'm feeling inspired...maybe someday I will build a toy theatre show!

OK, I took a lot of photos.